Melting Ice Cream Cone Party Hats in 7 Steps!

National Ice Cream Day may have come and gone, but that still leaves us with July (AKA- National Ice Cream Month!) To continue the celebration, we're sharing this super simple DIY for you to use at your next Ice Cream Social or End of Summer party! Here's the scoop (pun intended!):
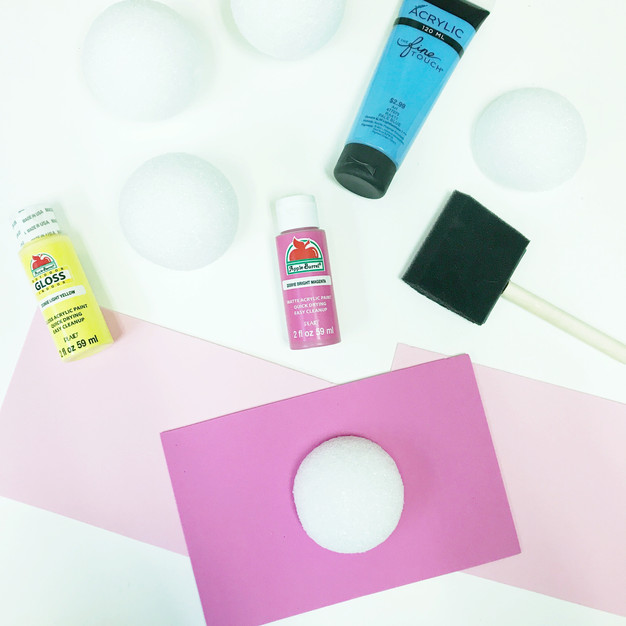
Items Needed:
- 1 Pack of Foam Sheets
- Assortment of Colorful Paints (You choose your colors!)
1 Pack Colorful Pipe Cleaners - 1 Pack of Foam Paint Brushes
- Styrofoam Balls (The quantity of these depend on how many hats you're making)
- 1 Glue Gun
- 1-2 Rolls of Ribbon (You choose the color!)
- 1 Pack of Brown/Biege Construction Paper
- 1 Pair of Scissors
- 1) Boxcutter
Directions:
1. Use a boxcutter to CAREFULLY cut your styrofoam balls in half. These items are somewhat fragile, so use care when completing this part of the process.

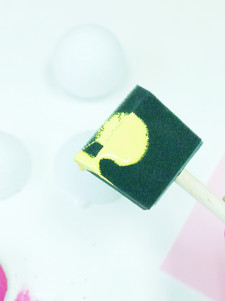
2. Since the styrofoam balls take the longest to dry, use your paint of choice and paint each styrofoam half accordingly, and then lay aside to dry. Typically: 25-30 minutes.
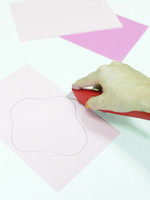
3. Use a pen to draw the "melted" base on your styrofoam sheets.
4. Use a boxcutter to cut out the "melted" drawing from each styrofoam sheet.

5. Use a glue gun to attach the dried styrofoam half to the melted base cut-out.
6. Once the styrofoam half has been attached, use a pair of scissors to cut small pieces of the pipe cleaner colors to use as sprinkles. Attach these pieces using your glue gun.
7. Cut 13-inch pieces of ribbon, use two pieces per hat. Use your glue gun to attach one ribbon strand to each side of your hat. Your guests will use these strands to tie the hat around their face and under their chin.

Once you have completed these simple steps, you're ready to party!
Happy Scooping!
-Whitney Barnard